
Last updated November 2, 2026
 Wrought iron
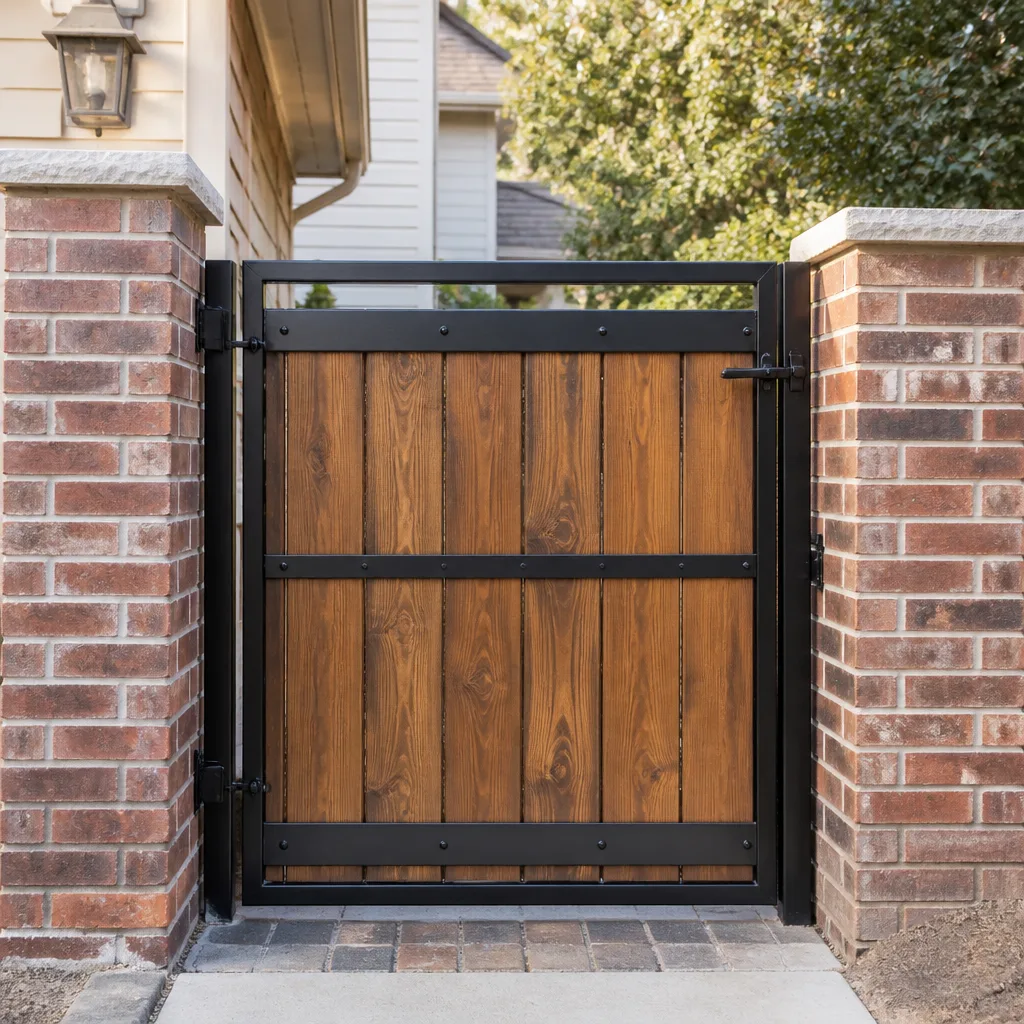 Wood & steel frame
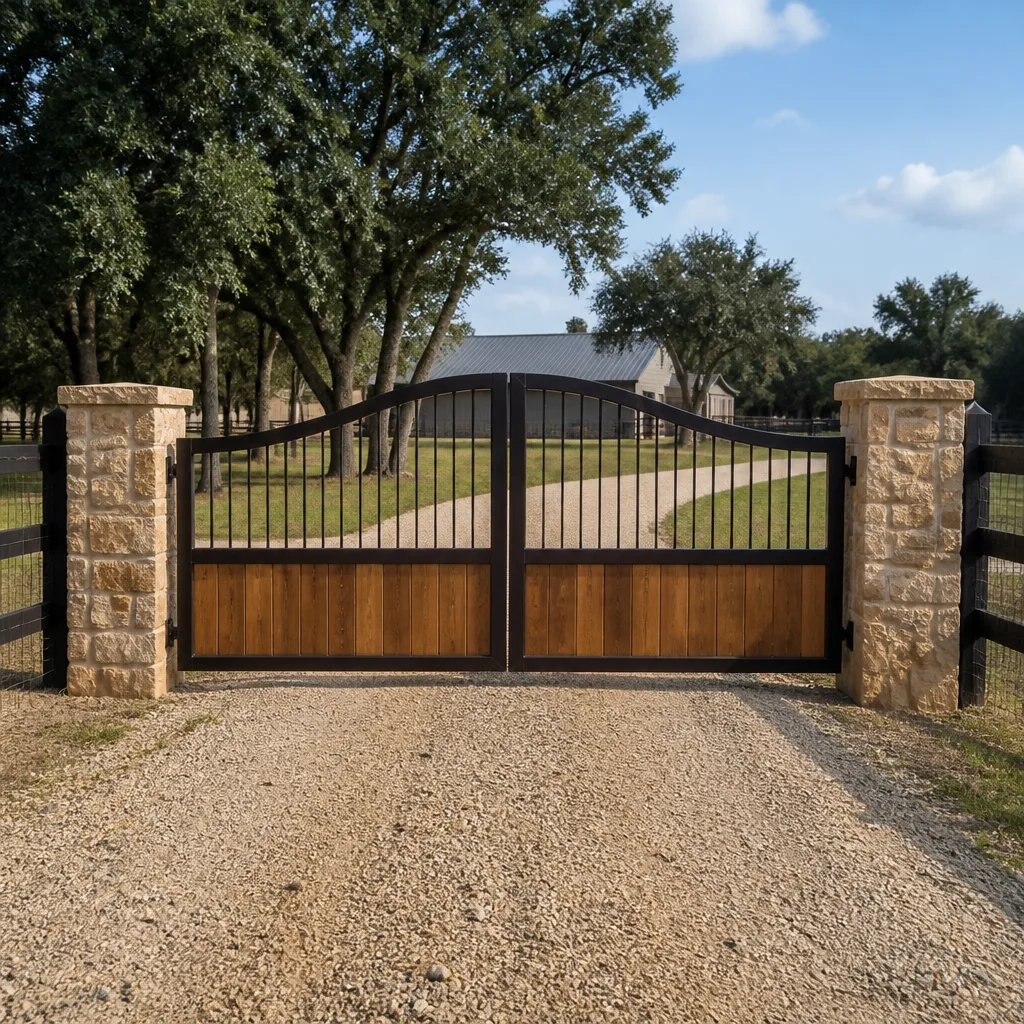 Farm & ranch
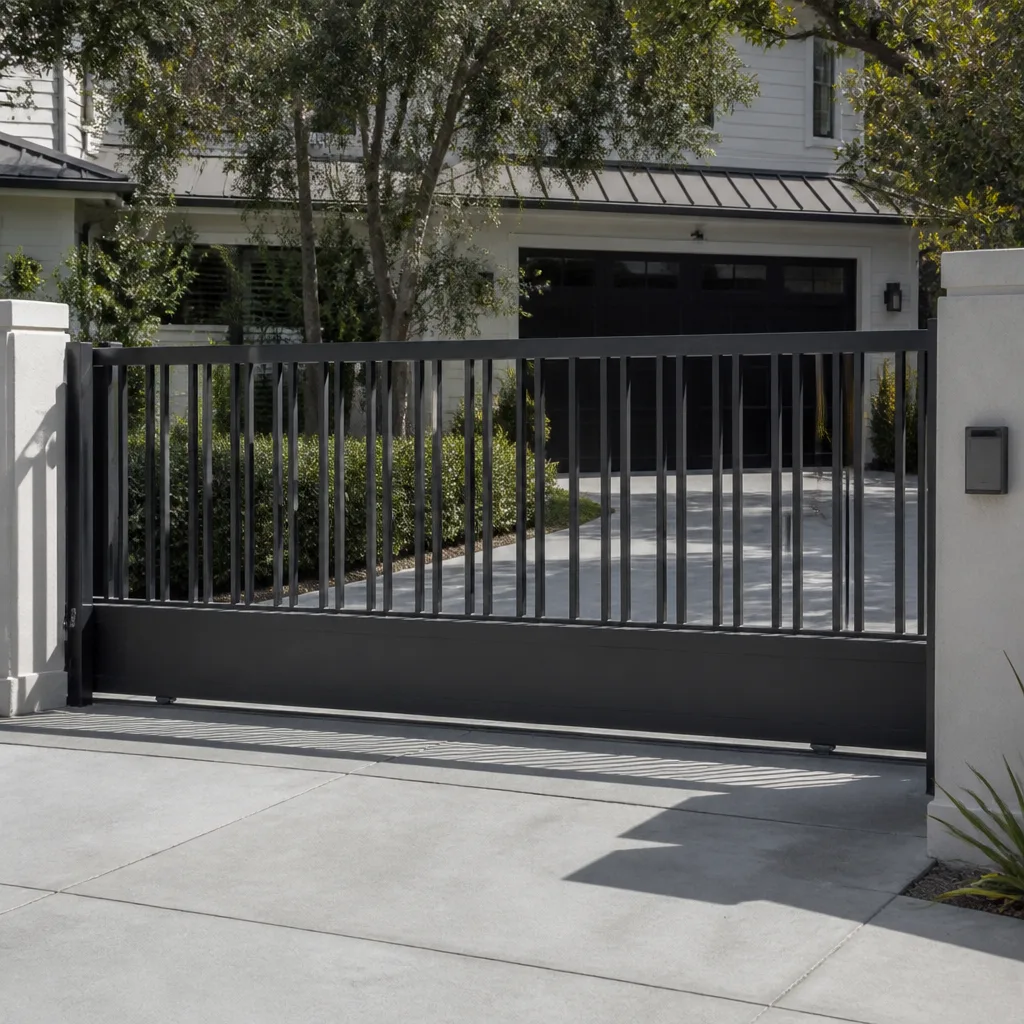 Sliding driveway gates
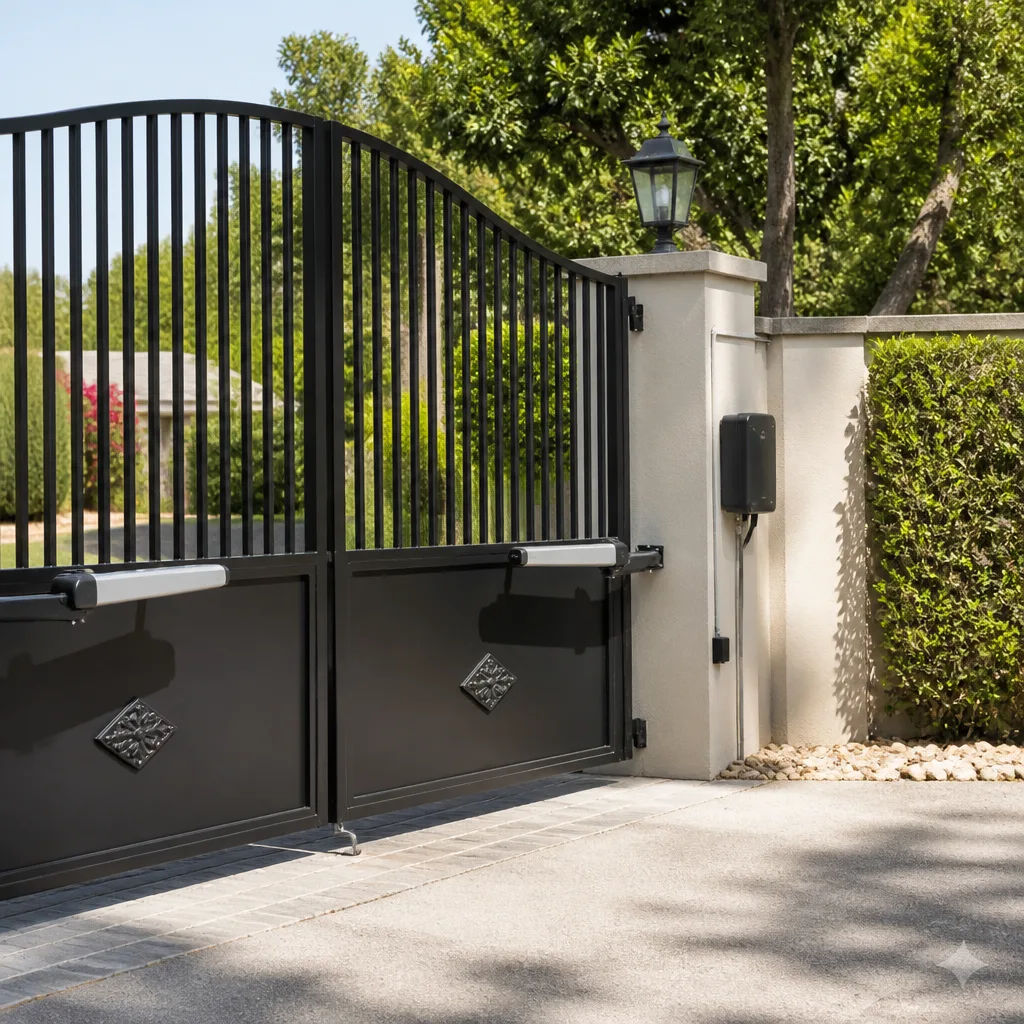 LiftMaster operators
Free on-site gate assessment - hinges, posts, and your LiftMaster or Nice gate operator checked before anything is quoted
The assessment is free and the quote is the invoice.
Get your free estimateGate Repair Maintenance Checklist for Crocker-Amazon Homeowners
Lubricating a gate hinge with WD-40 is one of the most common maintenance mistakes we see in Crocker-Amazon. It strips existing grease, attracts grit from the hillside air, and accelerates wear faster than no lubrication at all. Most gate failures we diagnose route back to a handful of preventable issues that no one measured, no one logged, and no one caught early, which is why our Gate Repair Troubleshooting: Common Problems and How to Fix Them starts with the basics. This checklist changes that. You’ll learn what to measure, what threshold means it’s time to call a professional, and which tasks are genuinely safe to do yourself without voiding a manufacturer warranty.
Quick Answer
The most useful gate maintenance checklist for Crocker-Amazon homeowners focuses on measurable thresholds: hinge play under 1/8 inch, gate sag under 1/4 inch at the latch post, a full open-close cycle under 18 seconds, and battery voltages above 12.4V for 12V systems. Check these quarterly, use the right lubricant per component, and call a gate specialist when any measurement falls outside range.
Styles & brands we work with
- Wrought iron
- Wood & steel frame
- Farm & ranch
- Sliding driveway gates
- LiftMaster operators
Table of Contents
- Lubrication by Component: What Actually Works
- Hinge Play and Gate Sag: The Two Measurements That Predict Most Failures
- Electric Gate Systems: Motor, Board, and Loop Diagnostics
- Battery Backup Testing for LiftMaster and DoorKing Systems
- Which Tasks Void Warranties and Which Are DIY-Safe
- The Maintenance Log Format That Speeds Up Repairs
- Common Mistakes to Avoid
- When to Call a Professional
Lubrication by Component: What Actually Works
A gate has at least four different friction points, and none of them want the same product. Using one spray on everything is how Crocker-Amazon homeowners end up with gummed-up limit switches and squealing worm gears. Here is what each component needs, based on what we see on the brands we service most in this area: DoorKing, Elite, Mighty Mule, and LiftMaster.
- Hinges (swing gates): White lithium grease. It stays put through fog cycles and does not run down the post. Apply a thin coat to the hinge pin twice a year. If the hinge has a grease fitting, use a grease gun with a lithium-based NLGI #2 grease.
- Chains (slide gates): Chain-specific lubricant or a light machine oil. Do not use grease here, it holds dirt from the Crocker-Amazon hillsides and turns into grinding paste against the sprocket.
- Worm gears (LiftMaster and some Elite operators): The worm gear inside the operator sits in a sealed gearbox. Most are lubricated for life, but if the box has a fill plug, use a lithium-based gear grease rated for worm reduction. Never use spray lubricant inside the gearbox, it thins the grease and starves the contact surfaces.
- Limit cams and control-board switches: Dry graphite only. Any wet lubricant here attracts dust, and a sticky limit switch is what tells the motor to stop at the right spot. A gummed switch means the gate overruns, slams, or won’t open fully.
- Track wheels (cantilever slide gates): Bearing grease only if the wheels have zerks. Sealed bearings need nothing, and adding grease to a sealed bearing just pushes the seal out.
In the Crocker-Amazon microclimate, fog and salt air settle on gate hardware near the bay side of the neighborhood. We see more corrosion on exposed hinges and more swelling on wooden gate frames there than in the drier inland blocks. Twice-a-year lubrication is the baseline, but homes within a half mile of the fog line should move to quarterly.
If you’re not sure what type of gate you have or what product to use, our Gate Repair in Crocker-Amazon page covers the common failure points we see across the neighborhood, and we’re happy to walk through it on the phone before you buy anything.
Hinge Play and Gate Sag: The Two Measurements That Predict Most Failures
Before a gate falls off its hinges, it tells you. The language is fractional inches. Here are the thresholds we use when evaluating any gate in Crocker-Amazon, and they’re the same ones you can use on a Saturday morning with a tape measure and a helper.
- Lift the gate at the latch end. Vertical movement of more than 1/8 inch means the hinge pins or bushings are worn. Less than that is normal; more than that means the gate boss has worn oval and is transferring stress to the post.
- Push the gate laterally against the hinges. Side-to-side movement at the free end of more than 1/4 inch is a service call. These are the measurements that separate “still works” from “about to fail.”
- Measure the gap at the latch post. A properly hung gate should show a consistent gap top to bottom. If the bottom gap is more than 1/4 inch wider than the top, the gate has sagged and the hinge side is taking all the load.
- Check the post itself. If the post moves at the ground line, no amount of hinge adjustment will help. A post that shifts in the footing is a structural issue, and Crocker-Amazon’s expansive clay soil makes it worse in wet winters than most homeowners expect. Look for hairline cracks in the concrete collar around the post.
Sag on a wooden gate is usually not the hinges, it’s the frame. When a gate sags, homeowners tighten the top hinge and pull the gate up, but they’re only compressing the wood and splitting the corner joint. The proper fix depends on the frame construction: a diagonal brace on a picket gate runs from the top hinge corner down to the bottom latch corner, and a sagging gate that already has the brace needs the corner hardware replaced. If you’re not sure whether the brace is running the right direction, it’s a two-minute diagnostic call, not a rebuild.
On an electric gate, sag doesn’t just affect the latch. It changes the geometry of the opener. The arm binds, the motor draws more current, and the control board runs hotter. In Crocker-Amazon, we find that most “motor failures” on residential swing gates are actually hinge failures that ran for six months longer than they should have. A new motor on a sagging frame fails again in under a year.
For homeowners who want to understand the full picture of how the opener and the gate structure interact, our Electric Gate Repair in Crocker-Amazon page describes the electrical side of that equation, and it’s useful background if you’re making a repair-or-replace decision.
Electric Gate Systems: Motor, Board, and Loop Diagnostics
An electric gate is three systems in one: the moving gate itself, the operator that moves it, and the safety and access-control layer that tells it when to move. Each has its own warning signs, and they’re easiest to catch if you check them separately.
Operator checks
- Cycle time: Time the gate from fully closed to fully open. Most residential operators in Crocker-Amazon complete that travel in 14-18 seconds. If the same gate takes 25 seconds now and it took 16 seconds a year ago, the motor is laboring. It may be the gate binding, it may be capacitor degradation, it may be gearbox wear. But the slowdown is the first measurable signal before a full stall.
- Unusual noise: A smooth whir is normal. A rhythmic thumping, clicking, or groaning is not. A thump that syncs with travel usually means a bent chain guide or a flat spot on a track wheel axle.
- Motor temperature: After 5 complete cycles in a row, the motor housing should be warm, not hot. If it’s too hot to hold your hand against for 5 seconds, it’s overworking. That’s a wiring or mechanical-load issue, not a motor problem yet.
Control board checks
All diagnostic LEDs on the board should be solid or blinking in the pattern described on the board’s label. If you see a red LED glowing when the manual says it should be green, that’s the board reporting a safety circuit fault. Write down the blink pattern before calling us, it narrows the diagnosis to a specific input, and we won’t have to recreate the fault condition on site. Many Gate Repair services calls in Crocker-Amazon start with a blurry photo of a blinking LED and end with an exact part diagnosis before we arrive.
Safety loop checks
Loop detectors fail in the heat. In Crocker-Amazon, we see more loop failures in August and September than any other time. Here’s how to test yours from outside the property: drive a vehicle up to the gate from the approach side while an exit vehicle is open or a manual override is pressed. If the gate does not hold open while a car is parked directly over the loop, the loop or the detector has failed. This is a safety-critical system, not a convenience feature. A gate that closes on a car is a liability event, and a failed loop defeats the entire purpose of the safety layer.
Control boards, loop detectors, and motor diagnostics are not always visible from the outside. If the gate responds inconsistently, intermittently, or only with the keypad at a specific angle, that’s when we get involved. Our Gate Repair Crocker-Amazon home page lists the full scope of brands and systems we diagnose, including commercial-grade equipment.
Battery Backup Testing for LiftMaster and DoorKing Systems
Battery backup is the component most homeowners forget exists until the power goes out and the gate won’t move. The test procedure is more than “press the button and see if it opens.” A weak battery can open the gate once and then collapse on the second cycle, and that’s the failure you’ll have during a blackout when you can’t charge it anyway.
Here’s the procedure we use on LiftMaster and DoorKing battery-backed systems in Crocker-Amazon:
- Disconnect AC power to the operator. Use the breaker if you have a dedicated circuit for the gate. This mimics a real power outage better than pressing a test button.
- Run the gate through 3 complete open-close cycles. A healthy battery bank should hold voltage and deliver consistent cycle speed across all 3 cycles.
- Measure voltage at the battery terminals during the 3rd cycle. For a 12V system, the loaded voltage should stay above 11.5V. Below that under load, the battery has internal resistance and it’s done. For 24V systems, the loaded threshold is 23V.
- Restore AC power and measure resting voltage after 30 minutes on charge. A healthy 12V battery will float at 13.2-13.8V. A battery that won’t climb past 12.4V after a charge cycle is sulfated and won’t hold through a real outage.
- Note the battery date code. Even well-maintained batteries rarely exceed 3-5 years in Crocker-Amazon’s temperature swings. If yours is older than that, the test is a formality. Replace it before the outage season.
DoorKing battery trays and LiftMaster UPS systems have different charging curves. LiftMaster’s DC operators with battery backup run the motor directly from the battery during operation, which is why a weak battery shows up as a slow gate even when AC power is present. DoorKing systems typically float the batteries until an outage trips the system over. If a DoorKing gate operates fine on normal power but labors on backup, the battery bank is the first suspect.
Battery testing involves working inside the operator enclosure with live AC terminals nearby. If you’re not comfortable around open electrical panels, this is a call-out item, not a DIY one. We’re an electric gate specialist and this is exactly the work we do for Crocker-Amazon homeowners rather than talking them through it blind.
Which Tasks Void Warranties and Which Are DIY-Safe
Not all maintenance is created equal in the eyes of the manufacturer. LiftMaster’s warranty terms, for example, exclude damage from “improper maintenance or use of unauthorized parts,” and DoorKing specifies that electrical components must be installed and adjusted by qualified personnel. Homeowners in Crocker-Amazon regularly void warranties by doing maintenance that seems benign but isn’t, so check our Gate Repair Permits, Codes & Inspections in CA: What You Need to Know before you start.
DIY-safe without warranty risk
- Lubricating hinges, chains, and track wheels per the guidance above
- Tightening visible fasteners to the original torque, not beyond
- Cleaning the operator enclosure and wiping down photo-eye lenses
- Checking and recording gate travel time and battery voltage
- Clearing vegetation that interferes with gate travel or photo eyes
Warranty-risky tasks that require a professional
- Adjusting limit switches or travel parameters on the control board
- Replacing any component inside the operator enclosure
- Rewiring or splicing any low-voltage or line-voltage connection
- Changing the gearbox oil or opening a sealed gear train
- Replacing or re-programming a control board, including after a lightning strike
- Resetting the reversing force or obstruction sensitivity beyond the factory default range
The pattern is easy to remember: anything that you adjust with a wrench or a rag is DIY. Anything you adjust with a screwdriver on a circuit board or a wire stripper is not. If you’re not sure which category a task falls into, a two-minute phone call to a specialist is cheaper than a denied warranty claim.
The Maintenance Log Format That Speeds Up Repairs
A gate is a system that degrades slowly, and the best diagnostic tool we have is the history. When a homeowner can tell us “the gate started slowing down in February and the photo eye has been acting up since June,” we skip half of the diagnostic process. Here’s a log format that captures what matters:
| Date | Observation | Measurement | Action Taken |
|---|---|---|---|
| Example | Gate slower than normal | Cycle time 22 sec (was 16) | Lubricated hinges, noted for next check |
| Example | Battery test after power outage | 12.1V loaded voltage | Called for replacement |
| Example | Photo eye blinking red | Misaligned after landscaping | Realigned, retested |
Keep this log taped inside the operator enclosure door or in a notes app. When a technician asks “when did this start,” you’ll have the answer. That single piece of information, the timeline, is often what separates a one-visit fix from a two-visit diagnosis. We update our customers’ logs at every service call, and for homeowners who keep their own records, the conversation starts from a much better place.
If you’re planning a Gate Installation in Crocker-Amazon, ask your installer to set up the log with baseline measurements from day one. A new gate should have its birth certificate, and the baseline is what every future measurement compares against.
Common Mistakes to Avoid
- Using WD-40 on any gate component. It’s a solvent, not a lubricant. It dissolves existing grease and leaves bare metal exposed to fog and grit.
- Ignoring a slow gate because it still opens. Slowness is the earliest warning sign of motor overload or mechanical binding. A gate that runs slow for a year fails in the rain at 11pm, not in dry weather at noon.
- Tightening a sagging hinge instead of measuring the cause. If vertical movement is beyond 1/8 inch, the hinge or bushing is worn, not loose. Cranking the bolt deforms the post and makes the eventual repair more expensive.
- Running the gate without battery backup in Crocker-Amazon’s fire season. Power shutdowns happen, and a gate that can’t be operated manually or on battery is a real safety problem. Check the manual release and the battery in September, not October.
- Adjusting force settings to “fix” a binding gate. Increasing the force limit pushes the gate harder against whatever is causing the binding. It’s the equivalent of putting a bigger motor on a car with flat tires, and it’s the single most common cause of bent gate frames we see.
- Replacing a motor without addressing the structure. A new operator on a sagging, binding gate is a $1,500+ mistake that repeats itself in 12-18 months.
When to Call a Professional
Call us when the measurements fall outside the thresholds above: vertical play over 1/8 inch, lateral play over 1/4 inch, sag visible at the latch, cycle time trending upward, or battery voltage that won’t hold. Call us when you hear grinding, clicking, or thumping that wasn’t there before. And call us before adjusting anything inside the operator enclosure if you’re not sure whether the task is DIY-safe. We work on your brand, whether that’s a LiftMaster, DoorKing, Mighty Mule, or Elite system, and the diagnosis is faster because we already know the quirks of each. Gate Repair Crocker-Amazon offers free estimates in Crocker-Amazon – call (833) 842-7897.
See the difference
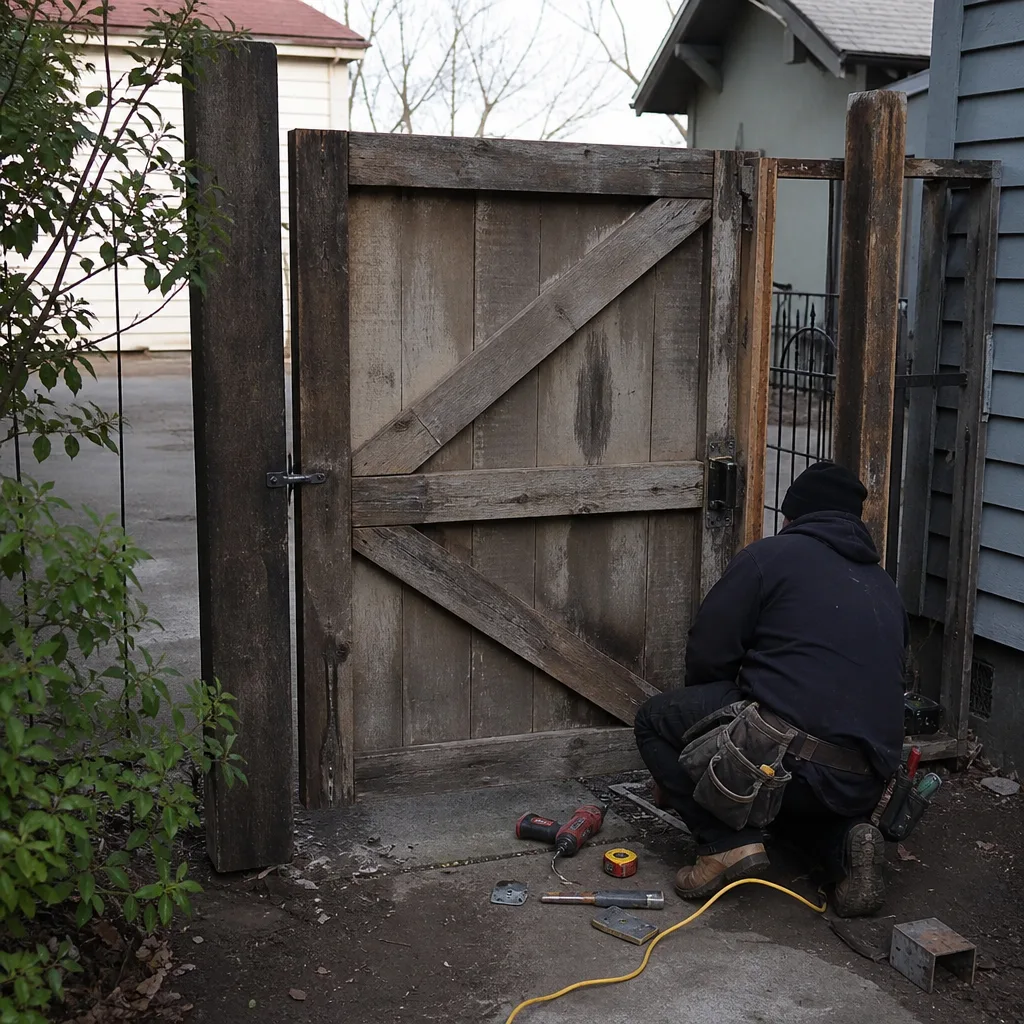 Before
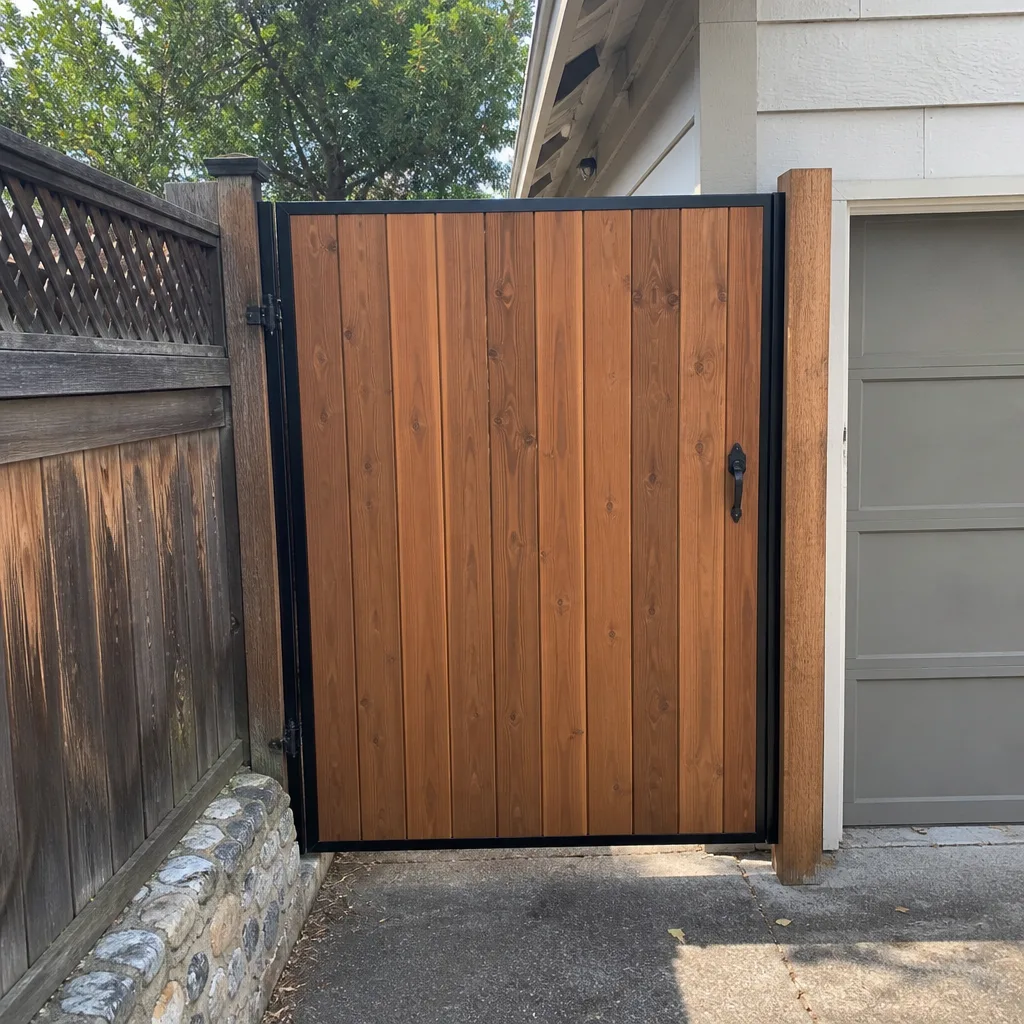 After
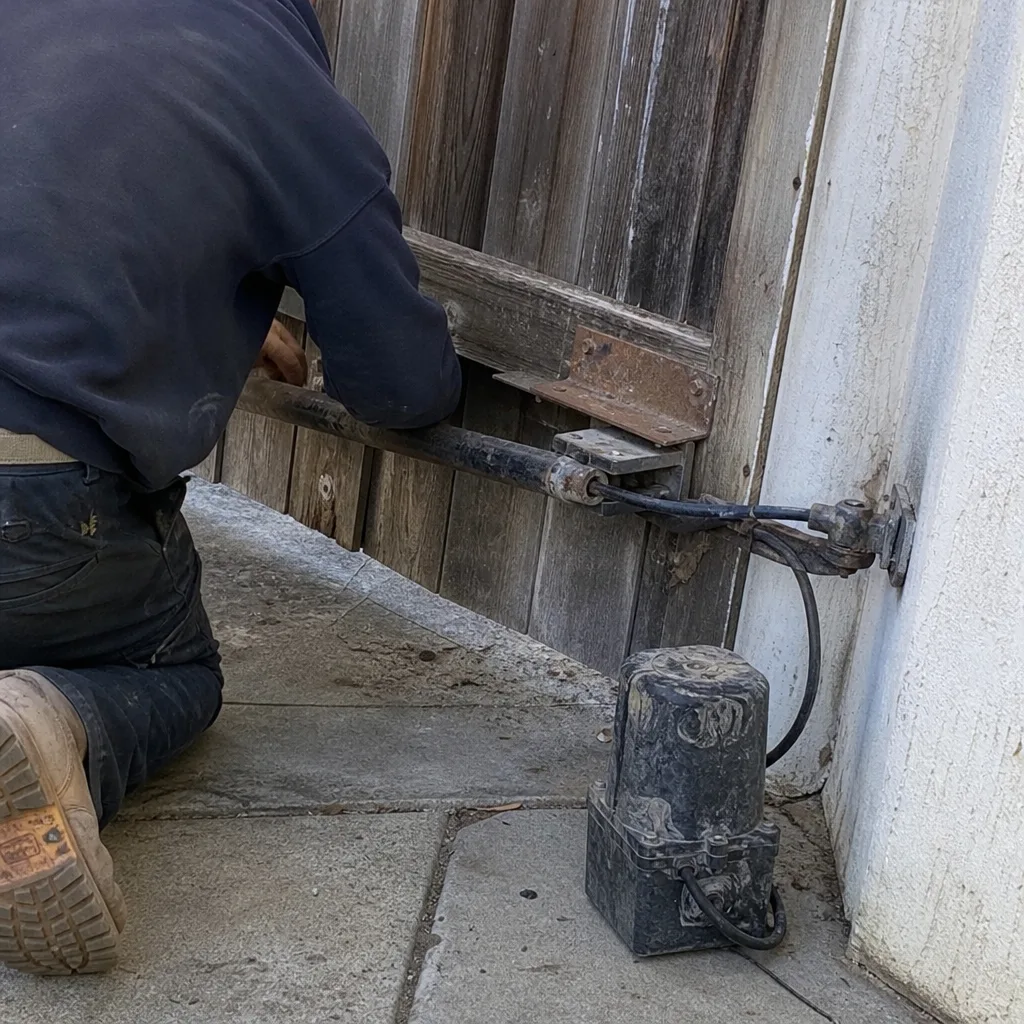 Before
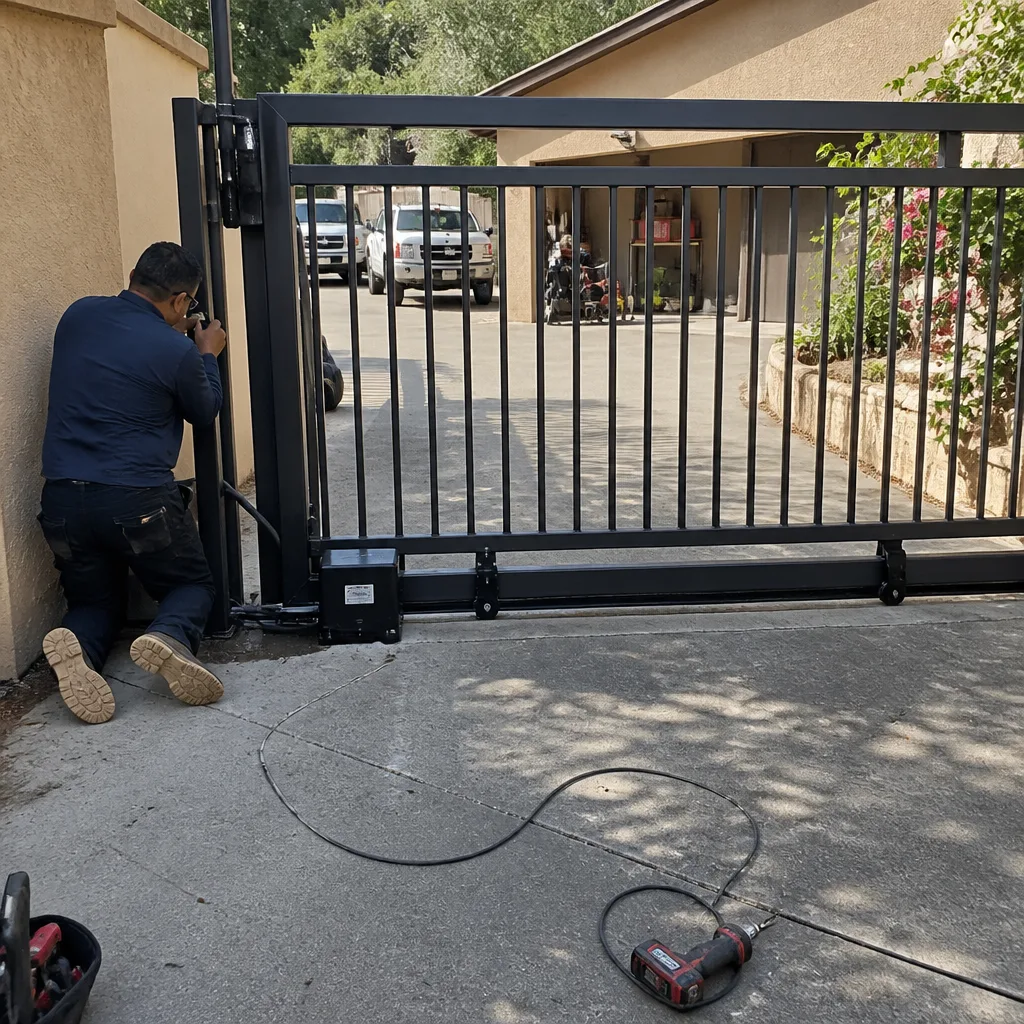 After
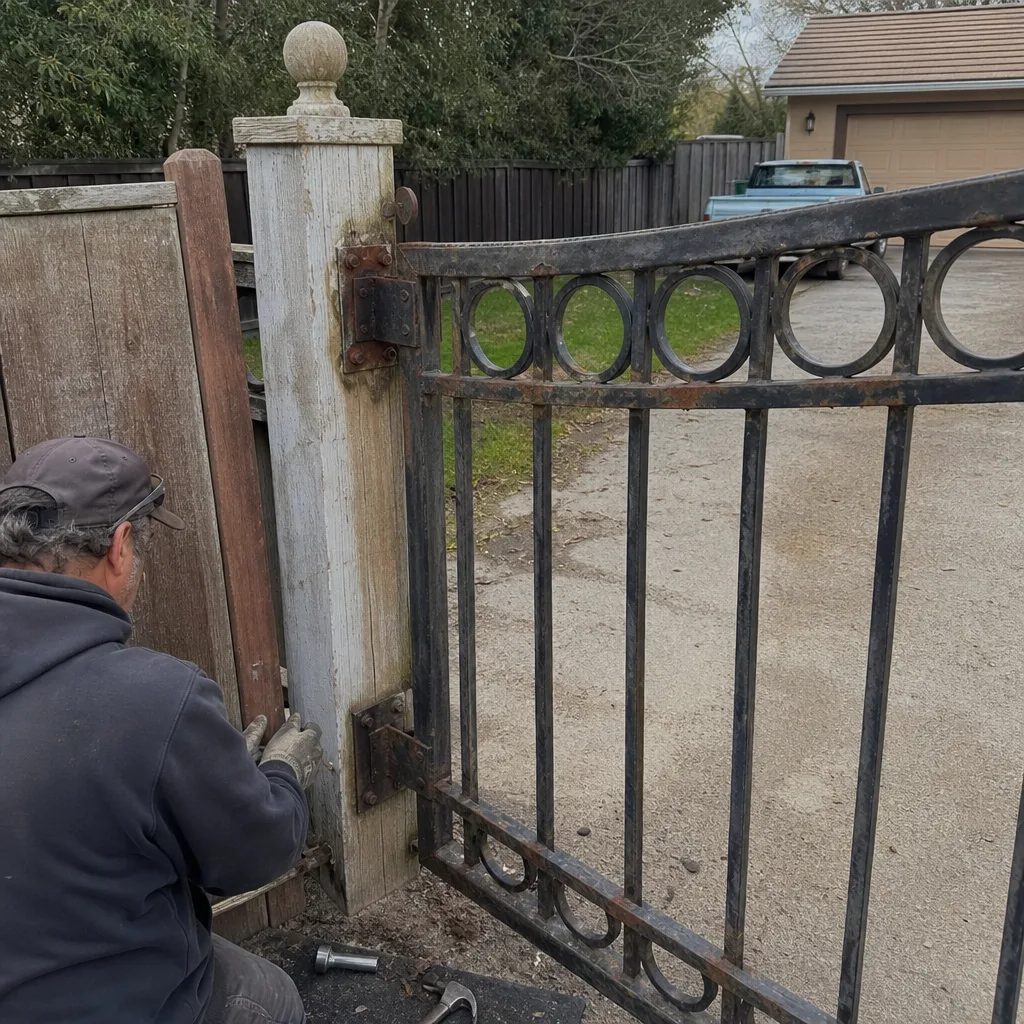 Before
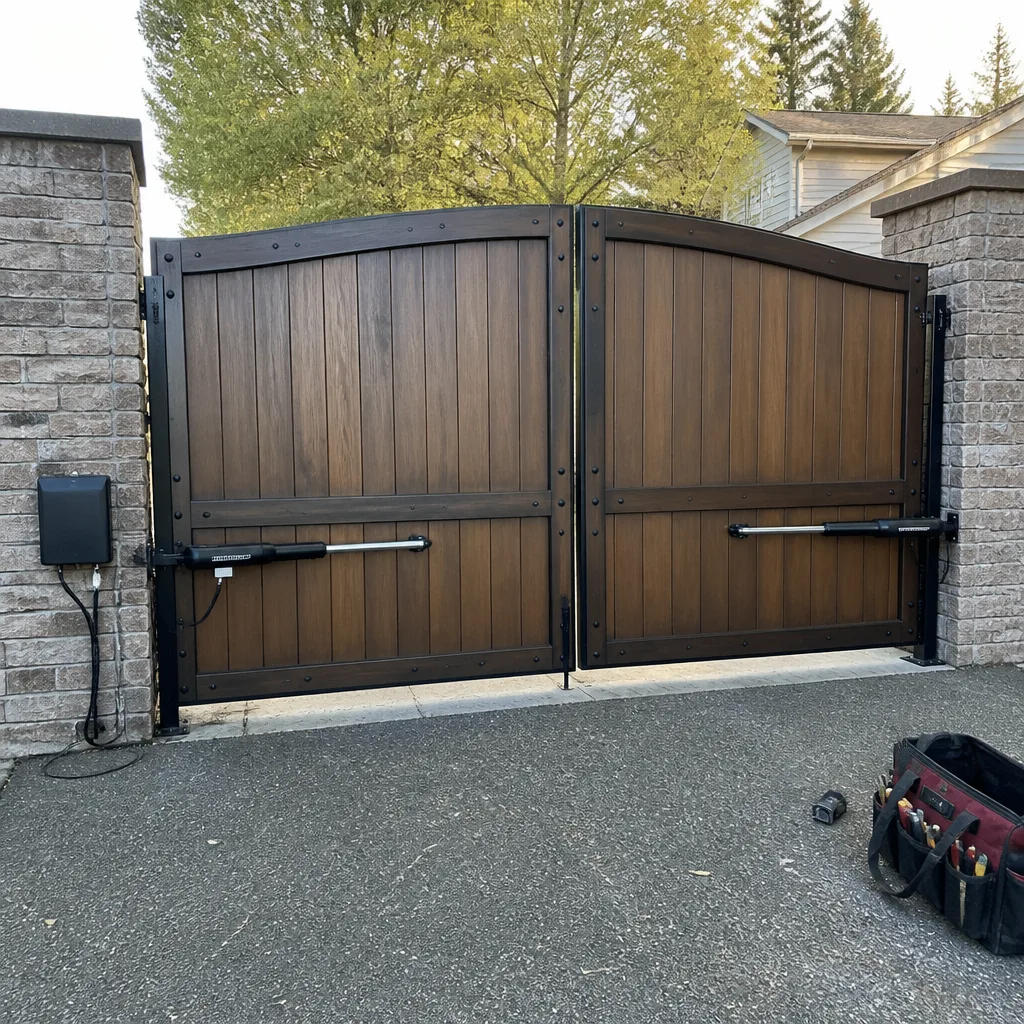 After
Frequently Asked Questions
Quarterly is right for most Crocker-Amazon homes, with a move to monthly checks for gates within a half mile of the fog line where corrosion and grit accumulation happen faster. The 15-minute version is: cycle the gate once and time it, lift and push for play, check the gap at the latch post, and glance at the diagnostic LEDs on the board. If all pass, log it and move on. For a full walkthrough or a second opinion on anything that looks off, call (833) 842-7897.
Log the cycle time, then call a specialist. Slowness is either mechanical binding, a tired capacitor, or a motor that’s been running against resistance too long. Measure first, call second. We diagnose electric gate issues including motors, control boards, and safety loops, and free estimates are part of how we work at (833) 842-7897.
You can lubricate hinges, chains, and track wheels yourself if you use the right product: white lithium grease on hinges, chain lubricant on chains, dry graphite on limit cams. Avoid WD-40 and general-purpose spray. It’s DIY-safe and warranty-safe. If the gate is still noisy after correct lubrication, the problem is mechanical wear, not a lack of lubrication.
Have a vehicle sit directly over the loop while the gate is open or in manual mode. The gate should hold open. If it closes on the vehicle, the loop or detector has failed and needs replacement, not adjustment. This is a safety-critical component, and it’s not a DIY fix. We test loops on every electric gate service call in Crocker-Amazon.
Hinge wear on the bay side of the neighborhood. Fog and salt air accelerate hinge pin and bushing corrosion, and the gate sags slowly enough that homeowners don’t notice until the latch stop working or the opener motor starts laboring. Measuring vertical and lateral play quarterly catches it a year before it becomes a motor replacement.
It depends on the structure. If the posts are solid, the frame is square, and the measurable play is within tolerance, repair is almost always the better value. If the post moves at the footing or the frame has multiple split corners, replacement starts making more sense. We’ll give you an honest read either way at (833) 842-7897, and we quote the repair price and the replacement price side by side so you can decide with real numbers.
The Bottom Line
Gate maintenance is measurement, not memory. You can’t manage what you don’t record, and a gate doesn’t fail suddenly, it fails slowly and tells you the whole way down. Measure hinge play in fractions of an inch, time the cycle in seconds, and check battery voltage in volts. Use the right lubricant on the right component. Know which tasks void your warranty and which don’t. And when something falls outside the numbers, call a specialist who works on your brand and arrives knowing what to look for, or explore our more guides & resources to learn more. Crocker-Amazon homes have specific climate and soil conditions that make these thresholds matter more here than in most of the Bay Area. The log you keep this year is the fastest diagnosis you’ll get next year.
Written by the team at Gate Repair Crocker-Amazon, serving Crocker-Amazon since 2016.